


A Step-by-Step Custom Clothes Guide: Design, Create & Deliver Your Unique Garments
Introduction
Custom clothes offer a powerful way to express individuality, cater to specific fits, or build a brand with one-of-a-kind pieces—whether you’re designing for personal use, a small business, or a client. But navigating the custom clothing process can feel overwhelming, from translating ideas into designs to selecting materials and ensuring a perfect finish. “A Step-by-Step Custom Clothes” guide simplifies this journey, breaking down every stage from concept to delivery. Whether you’re a beginner with no sewing experience or a seasoned creator looking to refine your process, these actionable steps will help you create high-quality custom garments that meet your vision and standards. From defining requirements to final quality checks, this guide covers everything you need to know to bring your custom clothing ideas to life.
Step 1: Define Your Custom Clothing Vision & Requirements
Before picking up fabric or a sketchbook, clarify your goals and requirements—this foundation ensures your custom clothes align with your needs, budget, and timeline.
- Identify the Purpose: Determine why you’re creating custom clothes: personal wear (e.g., a wedding dress, tailored suit), a business line (e.g., custom hoodies, Branded Apparel), or a client order. Purpose dictates design, material, and fit priorities.
- Outline Design Details: Sketch or describe key design elements: silhouette (e.g., slim-fit, A-line, oversized), neckline (e.g., crewneck, V-neck, off-the-shoulder), sleeves (e.g., long, short, sleeveless), closures (e.g., zipper, buttons, Velcro), and embellishments (e.g., embroidery, prints, patches). Use reference images (from Pinterest, fashion blogs, or magazines) to visualize your ideas.
- Specify Fit Requirements: For personal or client-focused custom clothes, take precise measurements: chest, waist, hips, torso length, sleeve length, and inseam (for bottoms). Use a soft measuring tape and follow standard measurement guidelines (measure over thin layers, keep the tape level). For bulk orders, define size ranges (e.g., XS–XXL) and fit profiles (e.g., unisex, women’s tailored, men’s relaxed).
- Set Budget & Timeline: Determine how much you’re willing to spend on materials, labor (if outsourcing), and tools. Research material costs (fabric, thread, hardware) and factor in extra expenses (e.g., custom prints, shipping). Set a realistic timeline: include time for design revisions, material sourcing, production, and quality checks. For client orders, add a buffer for feedback and adjustments.
Step 2: Research & Source Materials
The quality of your custom clothes depends heavily on materials—choose fabrics, threads, and hardware that align with your design, fit, and purpose.
- Select the Right Fabric: Consider fabric type, weight, and texture:
- Cotton: Breathable, versatile, and ideal for casual custom clothes (hoodies, t-shirts, dresses). Choose weights from lightweight jersey (for tees) to heavyweight twill (for jackets).
- Polyester: Durable, wrinkle-resistant, and great for activewear or custom clothes that require stretch (blended with spandex).
- Wool: Warm, luxurious, and perfect for formal wear (suits, coats) or cold-weather garments.
- Silk/Satin: Smooth, elegant, and suitable for dressy custom clothes (evening gowns, blouses).
- Fleece: Soft, warm, and ideal for loungewear or winter custom hoodies.
Test fabric samples (order swatches online or visit a fabric store) to check drape, stretch, and colorfastness—ensure it matches your design vision.
- Gather Essential Supplies: Beyond fabric, stock up on:
- Thread (matching or complementary color to fabric; choose polyester thread for durability or cotton thread for natural fabrics).
- Hardware (buttons, zippers, snaps, rivets) that fits your design (e.g., invisible zippers for dresses, metal snaps for jackets).
- Interfacing (for structure in collars, cuffs, or waistbands).
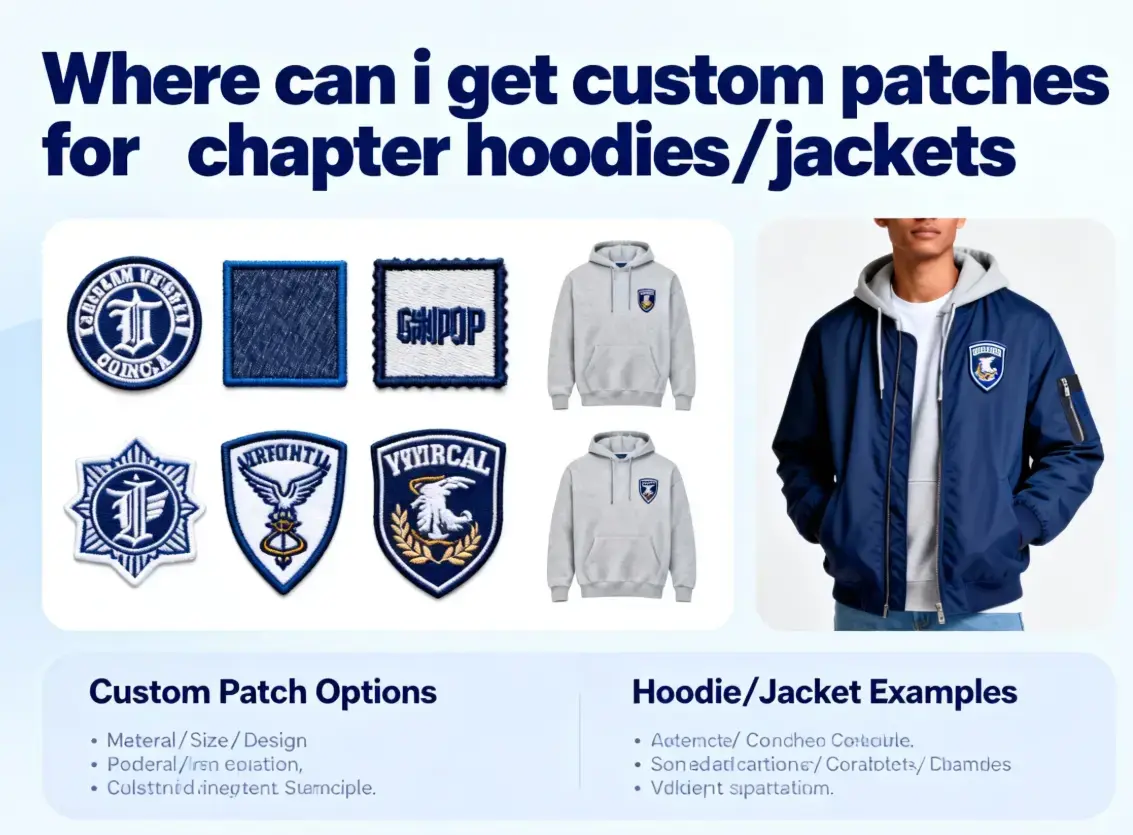
- Embellishments (embroidery thread, heat transfers, patches, beads) if adding decorative elements.
- Source Responsibly: For ethical custom clothes, choose sustainable fabrics (organic cotton, recycled polyester, hemp) and reputable suppliers. Compare prices from multiple vendors (online fabric stores, local shops, bulk suppliers for business orders) to stay within budget. For custom prints or embroidery, research local or online service providers and request sample outputs before placing bulk orders.
Step 3: Create a Prototype or Mock-Up
A prototype (or mock-up) is a test version of your custom clothes—this step helps you refine fit, design, and construction before final production.
- Choose a Mock-Up Method:
- Paper Pattern: Draft a paper pattern using your measurements or use a commercial pattern (adjusted to your design). For beginners, commercial patterns (available at craft stores or online) are a great starting point—look for patterns labeled “customizable” or “easy to alter.”
- Muslin Mock-Up: Cut and sew a mock-up using inexpensive fabric (e.g., muslin, old bed sheets) that has a similar weight and drape to your final fabric. Muslin is ideal because it’s affordable and shows fit issues clearly.
- Sew the Prototype: Follow your pattern to cut and sew the mock-up. Focus on key construction steps (seams, closures, fit) but skip embellishments—this is just for testing. Use basic stitches and mark problem areas (e.g., tight sleeves, loose waist) with pins or fabric markers.
- Test & Adjust: Try on the mock-up (or have your client try it on) and evaluate:
- Fit: Is it too tight, too loose, or uneven? Adjust the pattern by taking in seams, letting out fabric, or altering length.
- Design: Do the sleeves sit correctly? Is the neckline comfortable? Does the silhouette match your vision?
- Construction: Are seams straight? Do closures (zippers, buttons) function properly?
Make necessary revisions to the pattern or mock-up—repeat this process until the prototype fits and looks as desired. For business orders, have a sample group test the prototype to gather feedback on fit and comfort.
Step 4: Cut & Sew the Final Garment
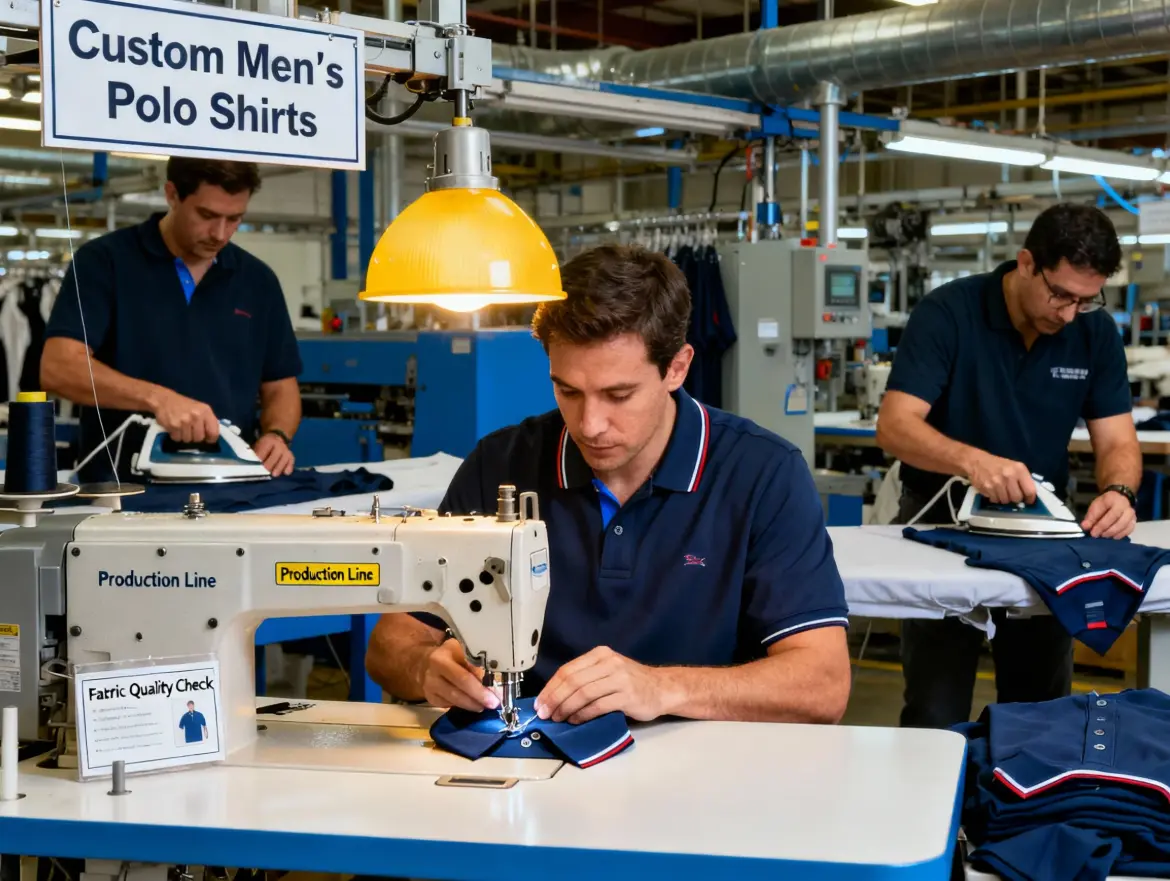
Once your prototype is refined, it’s time to cut and sew the final custom clothes—this step requires precision and attention to detail.
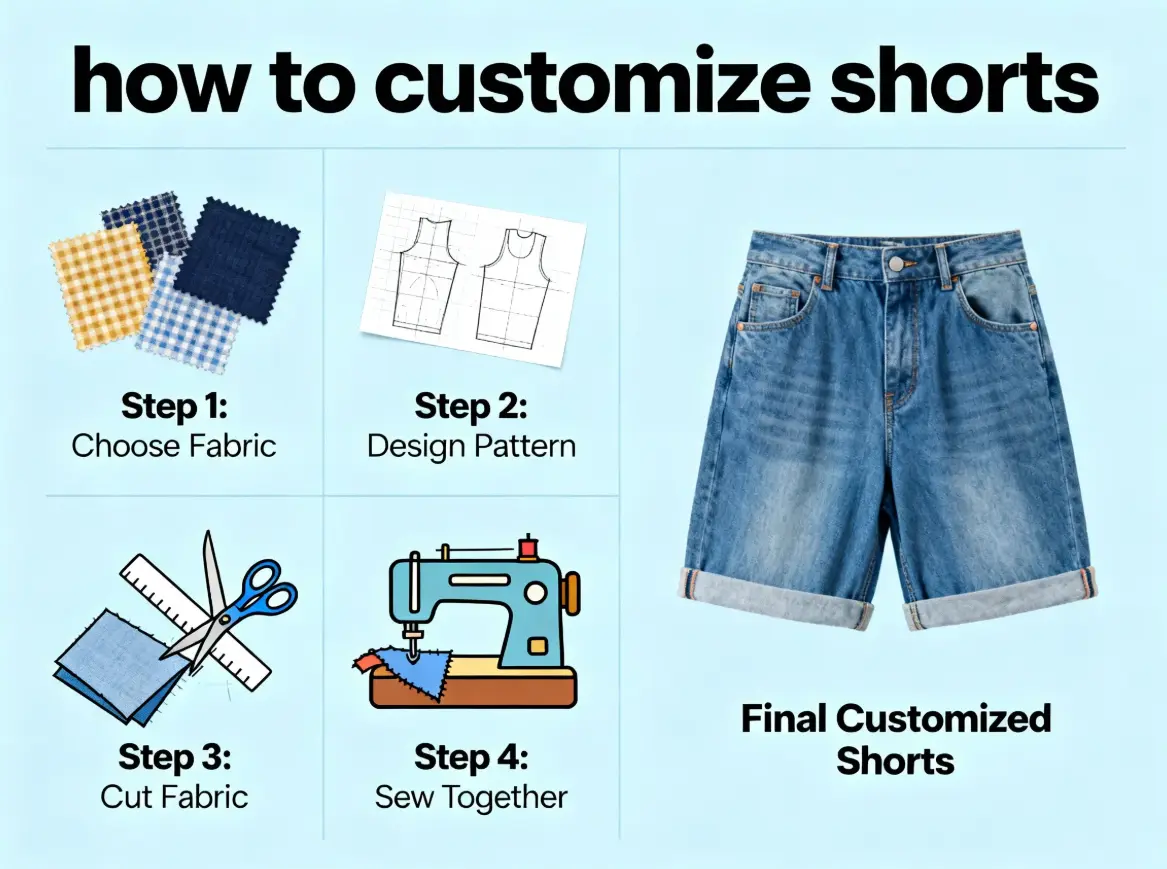
- Prepare the Fabric: Wash and dry the fabric (if pre-washable) to prevent shrinkage after the garment is sewn. Iron the fabric to remove wrinkles—smooth fabric ensures accurate cutting. Fold the fabric according to your pattern instructions (usually right sides together) and pin the pattern pieces to the fabric.
- Cut Carefully: Use sharp fabric scissors or a rotary cutter to cut along the pattern lines. Cut slowly and follow the grainline (direction of fabric threads) to ensure the garment hangs correctly. Label each cut piece (e.g., “left sleeve,” “front bodice”) with fabric markers or pins to avoid confusion during sewing.
- Sew Step-by-Step: Follow your pattern or construction plan, starting with basic seams and moving to more complex elements:
- Sew major seams (e.g., side seams of a shirt, leg seams of pants) with a straight stitch, leaving seam allowances (typically ½–⅝ inch) as marked on the pattern. Press seams open or to one side with an iron for a professional finish.
- Add closures (zippers, buttons, snaps): Follow instructions for installing each closure—for example, use a zipper foot on your sewing machine for precise zipper placement.
- Attach details (collars, cuffs, waistbands): Use interfacing if needed to add structure. Sew embellishments (embroidery, patches, heat transfers) according to the manufacturer’s instructions—for heat transfers, use a heat press or iron at the correct temperature.
- Finish edges (hem, sleeve cuffs): Use a zigzag stitch, serger, or bias tape to prevent fraying. Hem the garment to the desired length using a blind hem stitch (for invisibility) or straight stitch.
- Press Throughout: Iron the garment after each major step (sewing seams, attaching closures, finishing hems). Pressing ensures the fabric lays flat, seams are crisp, and the final garment looks polished.
Step 5: Quality Control & Final Adjustments
Before delivering or wearing your custom clothes, conduct a thorough quality check to ensure there are no defects or fit issues.
- Inspect Construction: Check for:
- Straight, even seams (no skipped stitches, loose threads, or uneven tension).
- Secure closures (zippers glide smoothly, buttons are tightly sewn, snaps fasten securely).
- Embellishments (embroidery, patches) are attached firmly with no loose threads.
- Finished edges (no fraying, clean hems, or uneven cuts).
- Test Fit Again: Try on the final garment (or have your client try it on) to confirm fit. Check for:
- Comfort (no tight spots, restricted movement, or rubbing fabric).
- Proper alignment (shoulders sit correctly, sleeves are the right length, hem is even).
- Balance (the garment hangs straight, no twisting or pulling).
- Make Final Fixes: Address any issues found during quality control: trim loose threads, adjust seams for fit, reattach loose embellishments, or press again to smooth wrinkles. For client orders, share photos or a fitting session to get final approval before delivery.
Step 6: Package & Deliver (For Business or Client Orders)
Proper packaging and delivery ensure your custom clothes arrive in perfect condition and leave a positive impression.
- Package Carefully: Fold the custom garment neatly (use tissue paper to prevent wrinkles) and place it in a branded or neutral box/bag. Include care instructions (e.g., “wash cold, air dry”) to help the recipient maintain the garment’s quality. For delicate items (silk, wool), add a note about dry cleaning if needed.
- Add Personal Touches: Include a handwritten thank-you note, a care guide, or a small gift (e.g., a custom sticker, fabric swatch) to enhance the customer experience. For business orders, add branding elements (logo stickers, business cards) to promote your brand.
- Choose a Reliable Shipping Method: Select a shipping provider that offers tracking and insurance (especially for high-value custom clothes). Package the garment in a waterproof envelope or box to protect it from damage during transit. Notify the recipient of the shipping details and tracking number so they can anticipate delivery.
Tips for Successful Custom Clothes Creation
- Start Small: If you’re new to custom clothes, begin with simple projects (e.g., a custom t-shirt, basic hoodie) before moving to complex designs (e.g., tailored suits, evening gowns). This helps you build skills and confidence.
- Invest in Tools: A quality sewing machine (with basic stitches, zipper foot, and buttonhole function), sharp fabric scissors, a rotary cutter, and a measuring tape are essential for professional results.
- Learn from Mistakes: Custom clothing creation involves trial and error—don’t get discouraged by imperfect prototypes. Use mistakes as learning opportunities to refine your process.
- Stay Organized: Keep track of patterns, fabric swatches, measurements, and client notes in a folder or digital tool. This helps you stay on track and avoid mistakes (e.g., using the wrong fabric or measurements).
- Keep Up with Trends: For business-focused custom clothes, stay updated on fashion trends (colors, silhouettes, embellishments) while balancing with timeless design elements. This ensures your custom clothes appeal to your target audience.
Common Mistakes to Avoid in Custom Clothes Creation
- Skipping the Prototype: Rushing to sew the final garment without a mock-up often leads to fit issues or design regrets that are hard to fix. Always test with a prototype first.
- Using Low-Quality Materials: Cutting corners on fabric, thread, or hardware results in custom clothes that look cheap, wear out quickly, or don’t hold their shape. Invest in quality materials that match your design’s purpose.
- Ignoring Measurements: Inaccurate measurements are the #1 cause of ill-fitting custom clothes. Take time to measure carefully (or hire a professional tailor for client orders) and double-check measurements before cutting fabric.
- Poor Sewing Tension: Uneven thread tension can cause puckered seams, skipped stitches, or loose threads. Test your sewing machine’s tension on a scrap of fabric before sewing the final garment.
- Rushing the Process: Custom clothes require patience—rushing through cutting, sewing, or quality control leads to mistakes. Allow enough time for each step, including revisions and adjustments.
Conclusion
Creating custom clothes is a rewarding process that lets you bring unique visions to life, whether for personal wear, a business, or clients. By following this step-by-step guide—from defining your vision and sourcing materials to sewing, quality control, and delivery—you can create high-quality, well-fitted custom garments that stand out. Remember to start small, prioritize quality materials and precise measurements, and embrace trial and error as part of the learning process. Whether you’re a hobbyist or an entrepreneur, this guide equips you with the tools and knowledge to succeed in custom clothes creation. With practice and attention to detail, you’ll master the art of custom clothing and enjoy the satisfaction of wearing or delivering one-of-a-kind pieces.
FAQ
Do I need sewing experience to create custom clothes?
No—beginners can start with simple custom projects (e.g., customizing a plain t-shirt with embroidery, adjusting a commercial pattern for fit) and build skills over time. There are many online tutorials, books, and classes available to teach basic sewing techniques. For complex designs, consider outsourcing sewing to a professional tailor if you don’t have experience.
How much does it cost to make custom clothes?
Cost varies based on design complexity, materials, and labor. Simple custom clothes (e.g., a printed t-shirt) can cost 20–50, while complex designs (e.g., a tailored suit, evening gown) can cost 100–500+ (for high-quality fabrics and craftsmanship). For business orders, factor in material costs, labor, overhead, and profit margin when pricing custom clothes.
Can I create custom clothes for bulk orders (e.g., a small business)?
Yes! For bulk custom clothes, streamline the process by: creating standardized patterns for size ranges, sourcing materials in bulk (to reduce costs), and either sewing in-house (if you have the capacity) or outsourcing to a local seamstress or manufacturing partner. Conduct quality checks on sample garments before producing the full order.
How long does it take to make custom clothes?
Timeline depends on design complexity, order size, and your skill level. A simple custom t-shirt can take 1–2 days, while a complex custom dress or suit can take 1–2 weeks (including prototype revisions). For bulk orders, allow 2–4 weeks (or longer for large quantities) to account for sourcing, production, and quality checks.
What if my custom clothes don’t fit after sewing?
If the final garment doesn’t fit, revisit the pattern and measurements. For minor fit issues (e.g., tight sleeves, loose waist), adjust the seams by taking in or letting out fabric. For major issues (e.g., wrong size, uneven alignment), use the prototype to rework the pattern and sew a new version if needed. Taking accurate measurements and testing the prototype thoroughly minimizes this risk.